How Leather Is Cut: Inside a Modern Leather Workshop
Cutting is the quietest step in leatherwork and the least forgiving. A stitch can be unpicked, an edge can be sanded again, a dye coat can be reapplied — but a bad cut is permanent. Once the blade has passed through the hide, that part of the skin is spent. How leather is cut therefore decides the quality of everything that follows.
How leather is cut starts with reading the hide
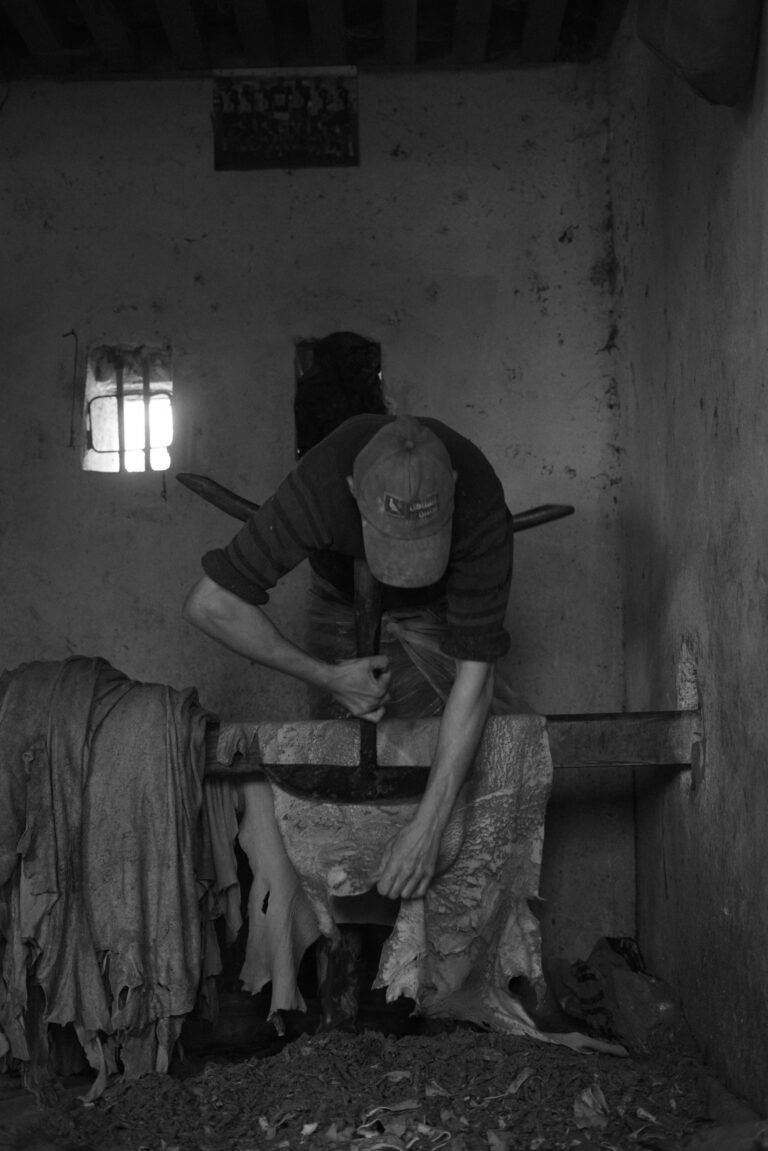
A hide is not a uniform sheet of material. The back and butt are dense and firm, which is why they are used for belts, straps and structural panels. The belly is stretchy and loose, so it is kept for linings, small parts, or offcuts. The neck often carries growth wrinkles. A skilled cutter lays the pattern pieces out with all of this in mind, aligning the direction of stretch with the direction of load.
Get that wrong and the piece fails in use rather than on the bench: a strap cut across the stretch will lengthen and thin within a year, however good the leather was when it left the tannery.
The four tools that matter
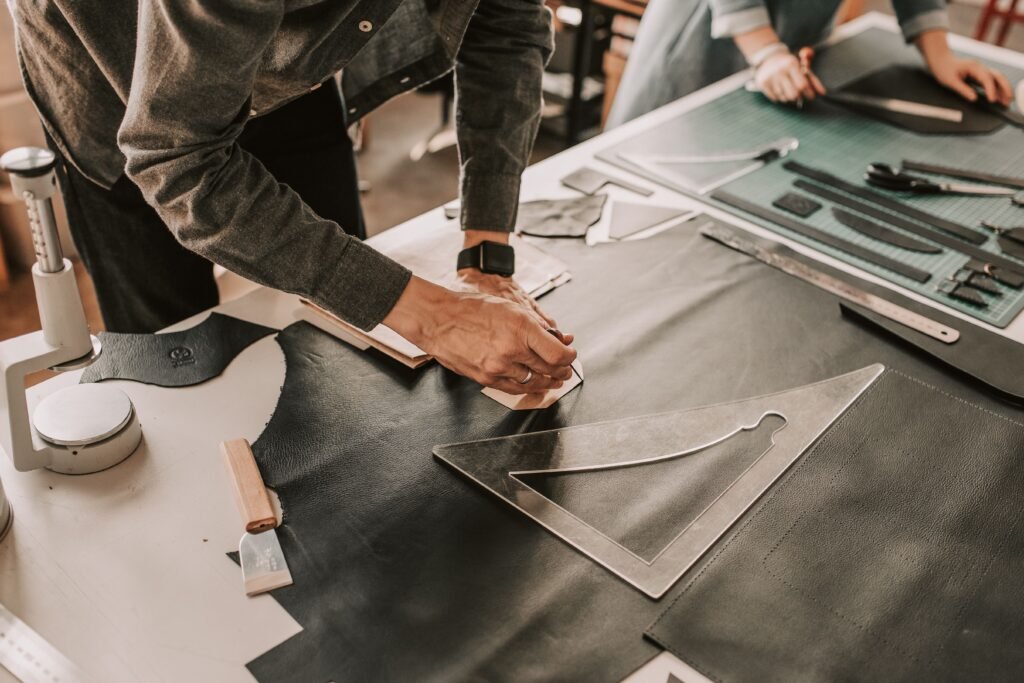
- A cutting mat — self-healing, thick enough that the blade never bites into the bench.
- A round knife or a fresh craft blade — sharpness matters more than the type. A dull blade drags the fibres and leaves a fuzzy edge.
- A steel rule or acrylic template — never plastic alone under a blade; the knife will shave it and your line will wander.
- A skiving knife — for thinning edges before they are folded or stitched.
These sit alongside the rest of the bench kit covered in the hand tools of traditional leatherworking.
Technique
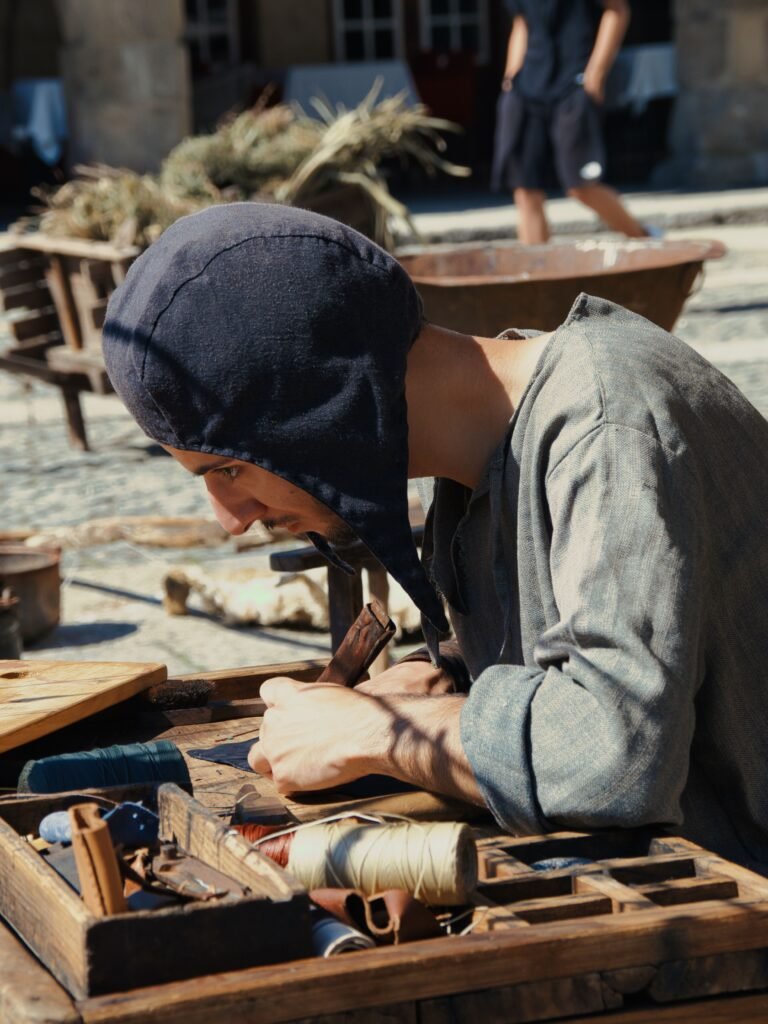
Once the layout is settled, how leather is cut comes down to three habits.
Cut in one confident pass wherever possible. Repeated shallow passes work on thick veg-tan, but each pass must follow exactly the same line, so the rule stays clamped down until the cut is finished. Keep the blade vertical: a tilted blade produces a bevelled edge that will never burnish cleanly.
Mark on the flesh side, not the grain side, so no line remains visible on the finished piece. And always cut away from the hand holding the rule — the most common workshop injury is a blade that skips off a template.
Why the edge tells you how leather is cut
A clean cut leaves a dense, fibrous cross-section that takes a slicker and burnishes to a sheen. A dragged cut leaves a furred edge that never closes, and no amount of gum or wax hides it. This is the same cross-section used to tell real leather from coated split, which is why turning a bag over and looking at its edges tells you about both the material and the workshop.
What the finish does to the cut
Firm vegetable-tanned leather cuts crisply and holds a burnished edge. Soft chrome-tanned leather compresses under the blade and often needs an edge paint rather than a burnish, so the finishing choice follows directly from how the hide was tanned and dyed. Hides from tanneries audited by the Leather Working Group tend to be more consistent in thickness, which makes the cutter’s job considerably easier.
Waste is part of the craft
Even in a well-run workshop, 15 to 30 percent of a hide becomes offcuts. Good makers keep those scraps for card slots, keyrings, reinforcement patches and test pieces. Nothing about leather is cheap enough to throw away, and that waste figure is part of why hand-cut goods cost what they do — a point worth remembering when you are pricing a piece against our online buying checklist.
Understanding how leather is cut also explains what can be fixed later: a panel cut from sound back leather can be patched and restitched, while a stretched belly panel usually cannot. Our leather repair guides start from that distinction.